Ghibli Inspied Survival - Devlog #01
Cementing Visual Style
The first and foremost drive behind this project was to cement a way to replicate the stunning, vivid, watercolour visuals that are present in Studio Ghibli animated films; such as My Neighbor Totoro, Howl's Moving Castle, and Kiki's Delivery service.
To achieve this I did a lot of research on re-creating that iconic Ghibli style in Blender, and though a series of youtube videos I eventually picked up on a video by Blender Based Youtuber 'Lightning Boy Studio' which explains their process for modeling and shading using reference images to re-create the Ghibli Style visuals.
Video Link Here
The video by lightning boy explains how to create the shader in a really dynamic way allowing me to have full control of the colours, the mapping, and how the "Watercolour" splotches would appear on the shader. The best part was that, in Blender, the shader would use a mapping technique that meant when you moved the object in the scene the resulting material for an object would be different every time. However, as this is a shader in Blender and I'd be working in Unreal Engine this wouldn't translate very well to the material creation in Unreal; this is something I hope to accomplish further in development but for now I'm settling for finding a position that looks the most appealing for the object i'm making, Baking the material onto a texture, and exporting object that way for use in Unreal.
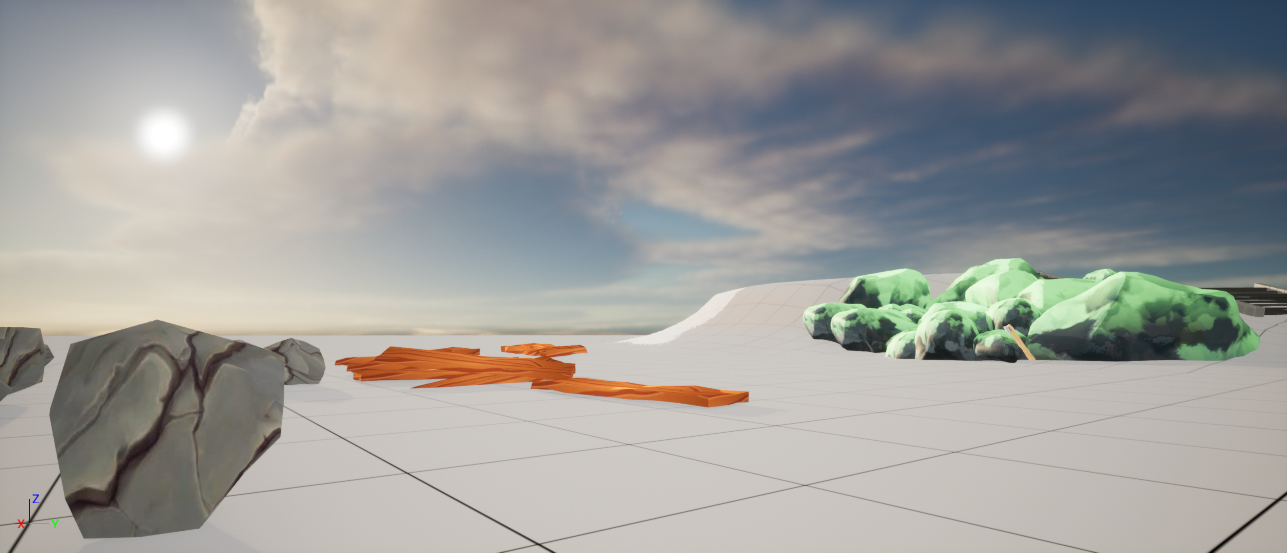
I also incorporated some teqniques I leanred from other blender modelling videos; such as how to make quick but convinsing rock formations using modifiers, which is how I created the rocks used in my test level just to help streamline the process for creating environmental assets. This is how I ended my visual prototyping in blender:

As you can see, I've started small but I started to experiment on making trees and manipulating the colour usage in the shader to create wood. Though, this shader won't be a 'one size fits all' solution, as I think the wooden fence just doesn't look correct; so, I will have to start experimenting with different techniques to get my desired results in engine.
Starting Survival Mechanics
The main thing I focused on at the start of this project was making a functioning inventory system; which was actually the insparation behind the project as I've never done that before. Before I got started on this I knew I had a couple goals in mind:For the first task I knew that making the Inventory system an Actor Component was a must, as this would mean that I could put the component on any actor in the game (such as NPC's, Chests, Bags, etc.) and use an Interaction Interface to call the access of this inventory and display it for the player. I also took into consideration of how the item data would be stored in the individual components, as some containers may be able to store more or less items than others; so, for this I created a structure that would outline all neccisary information that an item would need, such as Item Texture, Static Mesh, the quantity, if it's stackable, etc. This structure would be present in the inventory system as an initially empty array of the structure type and be able to be filled during runtime, or spawned in, with whatever Items I wanted there to be; whether that would be pre-determined or random based on an items rarity of appearing.
The blueprint itself is actually quite simple, for now it just starts by filling the array with 'Empty' items up to it's max storage and from there has different functions for different situations auch as finding the next avaliable empty slot, adding to the inventory, removing from the inventory, etc. The most complex function housed in the component is the 'Add to Inventory with Specific Slot' function, as this is for moving items around and it has to do checks to see if the space is occupied and then deal with the result of that by either just adding the item to the slot, or having to re-house the item that existed in that slot to the slot where the moved item used to be.
Check out the function here!
For the second task, the best case was to use a Data Table to store information on the items in the game so that I could use that data table later when I wanted to add specific items using the Table's Row Name and be able to find the information from that item for whatever is needed; such as if a widget needed the items texture, or if the item class was need to spawn the item in game when dropping it. And, because it's a table of data, I can just keep adding to it as development goes on with new classes, textures, names, etc.

And for my final task, well, this had already been complete from the first task. The only thing left for this system was a visual interface to represent the housed data. The only caviat with the hotbar widget was intergrating a function on the player controller to tie into the widget for what hotbar slot the player is currently selecting; which, was as simple as chaning a interger by one when the scrollwheel was used and using an event dispatcher to interface with the hotbar widget to update the position of a boarder such as in Minecraft.
From this, I could then use this information when the player used an action button such as a Drop or a Use to trigger a specific action for that item when the event goes off. The system has some bugs at present when moving items aound resulting in item loss which I will get around to ficing in future; but, for now, this is how the system looks:

I hope you enjoyed reading this Log for this project, and I hope to have more updates in the future!
×
![]()